Showing posts with label Chocolate. Show all posts

Thursday, 3 January 2013

The 5 minute chocolate mug cake

Ever had one of those urges for chocolate? The type of urge where it comes out of no where and you MUST have it and if you don't have the kind of chocolate to fulfill those cravings, the next best thing is the block of cooking chocolate that you have found right at the back of your pantry that could possibly have had a used by date that needed to be used at least a month or so ago? Yes? Me too.

This particular night Betty and my Miss 11 were testing out the messaging between their iPods. Now I am not sure if Betty had the urge but she certainly planted the  "I want chocolate cake" seed with my Miss 11 and her timing couldn't have been worse, thanks B! Miss 11 has come to me with only 10 minutes until all three of my little darlings were to depart for their bedrooms for bed and pipes up with a much enthusiastic voice "Mum, Aunty B said to ask you (this is where the alarm bells started ringing) to let me make a chocolate cake in a mug". Now normally I would say YES as we all know my obsession for chocolate outweighs almost everything but I had already washed all the dinner dishes and had just sat down after a busy day. Miss 11 was not happy and of course the "enthusiastic" voice turned into the "whinging whiney" voice I love so much and things seemed to go down hill very quickly. I put my foot down and the answer was NO we will make it tomorrow. Well of course "little people" never forget and the first thing I hear when I open my eyes is "can we make the chocolate cake in a mug?".
I had not previously heard about this cake in a mug phenomenon (I know, where have I been right?!), so I surfed the net in search of this "chocolate cake in a mug" and found a simply delicious sounding recipe that ticked all my boxes and all of a sudden my "urges" for chocolate were taking over my mind and I now HAD to have it. Of course it was breakfast time and we don't do this all the time of course but I relented and gave in. Yes we had chocolate cake in a mug for breakfast. Yes we also may have had a scoop of ice-cream for breakfast and yes it was DELICIOUS!!!!
This recipe was from the fabulous Not Quite Nigella, whose blog we follow religiously and are in total awe of. We love reading about her food journeys and recipes, so thank you Lorraine for this one!
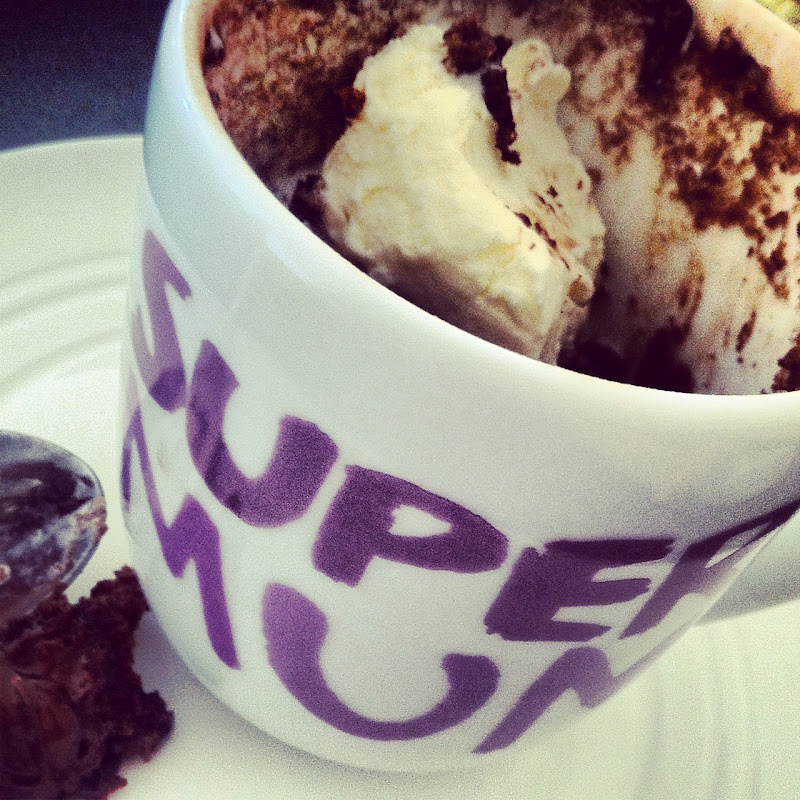


5-Minute Chocolate Cake in a Mug
Recipe from: Not Quite Nigella

 You will need:

 4 tablespoons plain flour
5 tablespoons caster sugar
2 tablespoons cocoa
1 teaspoon baking powder (You don't need to add this but if you do you will need to cover the mug with glad wrap/cling wrap so it doesn't explode over the edges.)
half a teaspoon coffee powder (this is optional but it makes it taste like a truly gooey mudcake)
pinch of salt
1 egg
3 tablespoons milk
3 tablespoons oil
3 tablespoons of chocolate chips or flakes plus 2 tablespoons extra
A small splash of vanilla extract
2 microwave safe coffee mugs

The above will make 2 mug cakes and I did add the baking powder the first time and like Lorraine from Not Quite Nigella says it will be messy and explode over the edges.....so of course we had to have a go! But you can cover the mug with glad wrap if your adding the baking powder to avoid the mess!


This was the attempt with the baking powder!!!

You can mix up the ingredients in the actual mugs or you can add the ingredients to a bowl and just divide them equally in the two. I added my ingredients to one bowl.

Add dry ingredients to a bowl and mix to combine


Pour the milk, oil, chocolate chips, or flakes and vanilla extract and mix well


Whisk the egg lightly in a bowl and add to the mix


Divide the batter between the two coffee mugs and add the extra chocolate to the top of the batter


At this point cover with glad wrap if using the baking powder.

Do one mug at a time, put your mug in the microwave and microwave for one minute on medium. This is where you need to know if your microwave is pretty powerful or if you are like me I usually do everything on high. I actually did these on high and with my second attempt I experimented with stopping the microwave mid-cooking time as the mix grew higher and higher as it heated up, but stopping it for just a second the mix went down and I was able to continue with the cooking time and stop the mix from coming over the edges of the mug.

If you are doing it on medium after the first minute, microwave for another 30 seconds on medium heat. Check the consistency, it should be cooked but still moist and gooey. If its still not cooked microwave for another 30 seconds on medium but it will continue to cook on standing.
Doing mine on High only took 1 minute and it was cooked and delightfully gooey at the bottom with those extra choc chips.


Allow to cool and for that extra delicious kick add a scoop of ice-cream on top!!!


A truly QUICK fix for my Chocolate URGE! I can feel that urge coming on again......M x

Sunday, 12 August 2012

Melt and Mix Chocolate Coconut Cake - My Birthday Girl!

It was one of those weeks in our household where I needed an easy option for a birthday cake as I think I have mentioned before that birthdays in the M household are all extremely close together. In fact, Miss 11 and Miss 6 are only one day apart from each other!! This year Miss 6 was having her first official party with her little friends from school, but over the last few years, Miss 11 has had to share one or two cakes with her younger sister. With that in mind I set about trying to find something fast and simple that Miss 11 could take to school and feel special with. This particular cake was from two different books both being Donna Hay ones. The Kit Kats and the M and M's caught my attention for the "simple" part I was after and I can't actually recall which of my many books this came from but the actual cake under all those yummy chocolates was from a very well used Donna Hay book that I use often, called "Donna Hay - Modern Classics - Book 2". The cake itself was a first for me and just as simple as the decorations but extremely yummy (Miss 11 brought home one remaining piece that I was allowed to sample). It tasted like a Golden Rough and the combination of chocolate and coconut was down right delicious (even if I do say so myself).

The cake tin I used was a 24cm round cake tin but the beauty of this cake is that you could make it as big or small as you want and yes you could do something that I personally would NEVER do and use a packet mix for your actual cake (not mentioning any names but you know who you all are - packet queen peeps!!). In saying that the bigger the cake the more KitKats you will need, I had to buy 3 packets of the snack size Kitkats as it took 24 of them and there is only 11 in each packet (I most probably needed 3 packets regardless as you all know my fetish for chocolate). You only need one packet of the mini mm's but it's the large packet that I bought.


You will need:
250g melted butter
3/4 cup sifted cocoa powder
1 1/3 cups caster sugar
3 eggs
1 1/2 cups desiccated coconut
1 1/2 cups plain flour
1 1/2 teaspoon baking powder
3/4 cup of milk

Preheat your oven to 180 degrees and grease your 24 cm round cake tin. Melt your butter and place it a large bowl.


Add your sifted cocoa powder, caster sugar, eggs, desiccated coconut, plain flour, baking powder and milk to your melted butter and whisk until smooth.


Pour into your greased tin and bake for 50 minutes.


After your cake is cool,  ice and serve or if you don't want to put all those decorations on it you can dust with cocoa powder and serve warm or cold with thick cream!
I don't have a recipe for the icing I have made as I tend to make most of my icing just from my head and a way that I was taught by my Mother which just involves icing sugar, a knob of butter and some milk to combine it together (for chocolate just add cocoa powder).


YUM!! M x
Thursday, 5 July 2012

Chocolate swirl marshmallows & spiced hot chocolate

If you are thinking of treating yourself or pampering a friend or maybe just cause you feel like something cosy on a cold day, this hot chocolate and homemade marshmallow was a little of all of those for me. Seeing I'm the non coffee drinker of the family and Mr M is the coffee man (4-5 cups a day on a good day!) and visiting the capital coffee state, Melbourne on our Honeymoon many moons ago, I had to at least order something each time we frequented a little cafe in the botanical gardens for breakfast each morning other than a glass of orange juice. It was here, I became hooked on hot chocolates, I blame Melbourne! I never knew so many hot chocolates could all taste so different at all our stops along the way (yes, I was a bit sheltered - haha!). Some with marshmallows, some with cream, some without cream, some with cinnamon, some with cocoa and some with milk or dark chocolate.

I usually just buy a ready made tin of drinking chocolate and just add water these days at home or if I'm feeling a little daring and if I haven't eaten them all, I may add a good old Pascal marshmallow. This Donna Hay recipe that I came across last year caught my eye and all my memories of Mr M and I wandering the streets of gorgeous cafes feeding our faces and sampling those treats came flooding back. Then my bubble burst with the shriek of "MUM......I'm hungry", "MUM.....Mr 8 won't let me hold the cat", "MUM.....can we lick the spoon". OK, honeymoon dreaming over, back to being a Mum!!

It was the enjoyment of seeing their faces when they tasted the marshmallow and having them think how amazing that we had made our own. The marshmallow itself was a little tricky at first as when you're beating the hot syrup into the gelatine  and it's cooling down, you need to act quickly or it becomes one big sticky mess. That part was fun with all 3 wanting to sample the gooey thick white mass. The hot chocolate itself was very tasty and if you prefer a little less on the spicy taste I would just add one star anise rather than the two. I used milk chocolate but you can use dark if you prefer a richer taste. The marshmallow has to be eaten within a couple of days so I'd recommend saving it for a special occasion or a get together with your besties or you might find yourself having to eat a lot of marshmallow!! 


For the Marshmallow you will need:
1 1/2 tablespoons gelatine powder
1/2 cup (125ml) water
1 3/4 cup (160ml) light corn syrup
1/4 cup (60ml) water, extra
200g dark chocolate, melted

Firstly place the gelatine and water in a bowl of an electric mixer and stir to combine. Set aside for 5 minutes or until the water is absorbed.


Place the sugar, corn syrup and extra water in a saucepan over high heat and stir sugar until sugar is dissolved.  Place a sugar (candy) thermometer  in the saucepan and bring to the boil. Cook until the mixture reaches 120C (250F).


With the mixer running on low speed, gradually add the sugar mixture to the gelatine mixture. Increase the speed and whisk for 4 - 5 minutes or until the mixture is light and fluffy and beginning to cool.


Pour the marshmallow mixture into a lightly greased 20cm x 30cm cake tin lined with non-stick baking paper, top with the chocolate and use a skewer to make swirls. Cover with plastic wrap and set aside, at room temperature, for 4 hours or until set. Cut into squares


(these are best eaten in 1-2 days, do not refrigerate)


For the spiced hot chocolate you will need:      (serves 4)
1 litre (4 cups) milk
2 sticks of cinnamon
2 star anise
1 1/3 cups (135g) grated milk or dark chocolate

Heat the milk, cinnamon and star anise in a medium saucepan over medium heat until just boiling.


Gradually whisk in the chocolate until combined.


 Remove the spices and divide the milk between 4 cups. Top with squares of marshmallow.


YUM!! X

Sunday, 17 June 2012

White and dark chocolate jaffa swirl cake

My first recollection of chocolate and orange flavour as a combination was when I would go to the cinema to watch a movie. Of course buying popcorn rated highly on top of my list but also buying a box of Jaffa's (I'm sure I remember buying Jaffas in a box....does anyone remember that? Oh and for those overseas readers, Jaffa's are crunchy orange-flavoured candy coated balls of chocolate). I certainly wasn't one of those kids that would waste their little balls of yumminess by rolling them down the aisle and wasn't an angsty teenager throwing them at some poor persons head!! I was too busy eating them (story of my life?!). But I do remember on the odd occasion that I may have lost half a packet or box at the excitement of trying to open them so quickly.

I'm sure everyone has their own way of eating a Jaffa. For me its sucking the outer shell until the orange colour has totally disappeared and then the hard exterior begins to become soft and it may break and the burst of chocolate finally appears on those taste-buds making the chocolate all soft and gooey.....YUM!!! So I think my obsession for the combination of chocolate and orange flavoured cakes may have begun way back in these Jaffa days and this cake from my Belinda Jeffery "Mix & Bake" bible is gorgeous.

In this recipe Belinda uses the food processor to make the batter of the cake and I started that way until I was up to the part of adding the flours back into the egg, milk and butter mixture and found my processor not big enough to hold the entire mixture so I ended up tipping it all into a big bowl and folding the flours through which still worked out fine. So if you don't have a large processor I would suggest just using your normal electric cake mixer.


You will need:
55g good-quality white chocolate, chopped
55g good-quality dark chocolate, chopped
290g unsalted butter, chopped, at room temperature
2 1/2 cups (375g) plain flour
1 teaspoon baking powder
3/4 teaspoon bicarbonate soda
1/2 teaspoon salt
4 eggs
2 cups (400g) caster sugar
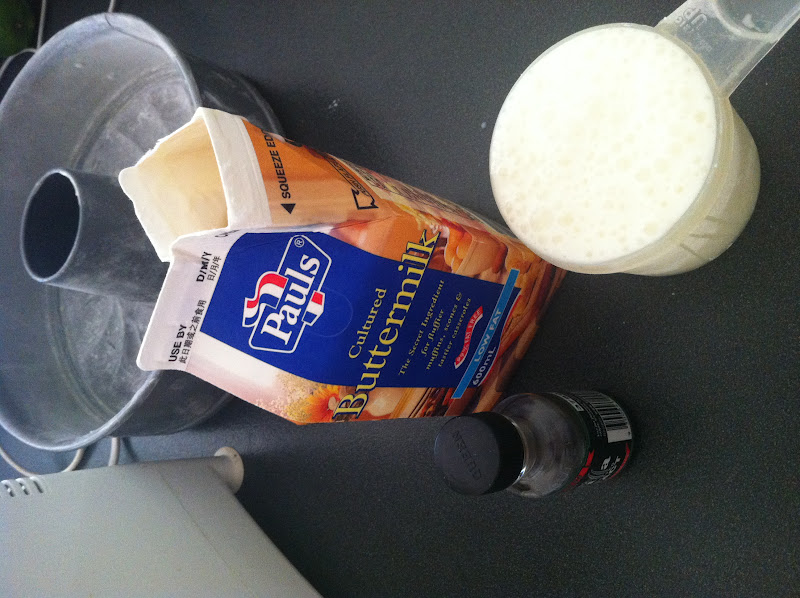
1 cup (250ml) buttermilk
1 1/2 teaspoon vanilla extract
3 teaspoons finely grated orange zest
Ganache for the top

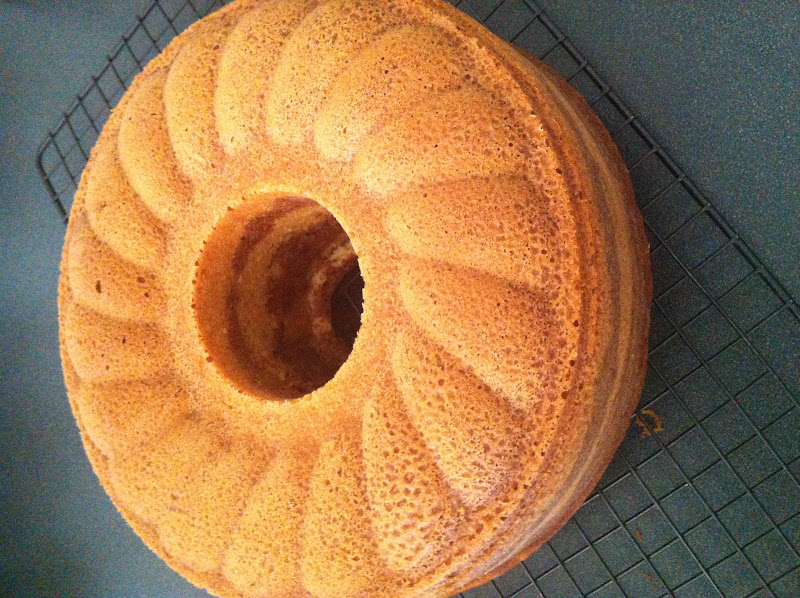
Preheat your oven to 180 degrees. Butter and flour a bundt tin, these tins are just like a round tin but with fluting and by rubbing butter and then dusting flour onto it this will ensure your cake will come out without sticking to the tin. I do this method with all my tins, even the ones where I can line it with baking paper.


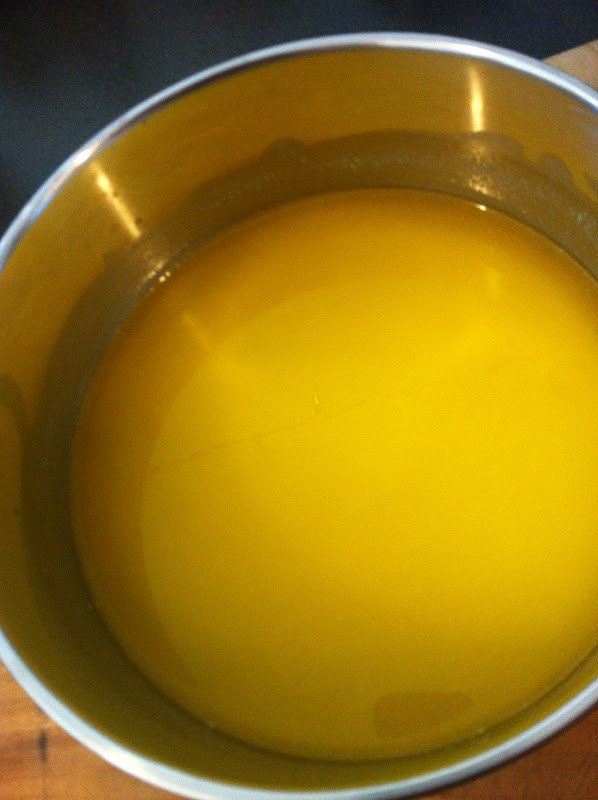
Put the white chocolate into a small microwave-proof bowl, then tip the dark chocolate into another. Put 20g of the butter into each of the 2 bowls. Microwave the white chocolate and butter on high for about 35-40 seconds or until melted, stopping to stir it halfway through.


Remove it from the microwave and stir it again to make it as smooth as possible. Repeat this process with the dark chocolate mixture. Leave both bowls of chocolate to cool to room temperature.


Put the flour, baking powder, bicarbonate of soda and salt into a food processor. Whiz them together so they're well mixed, then tip them into a bowl.


Put the eggs and sugar into the processor and whiz them for 1 minute. Add the remaining butter chunks to the egg mixture and process everything for another minute. Pour in the buttermilk and vanilla extract and whiz together for about 10 seconds to mix them in.


Tip the flour mixture and blend it in with a few quick pulses so the batter is just combined. Remember to scrape stop and scrape down the sides at least once.
Transfer half the batter to a bowl, then stir in the dark chocolate mixture.


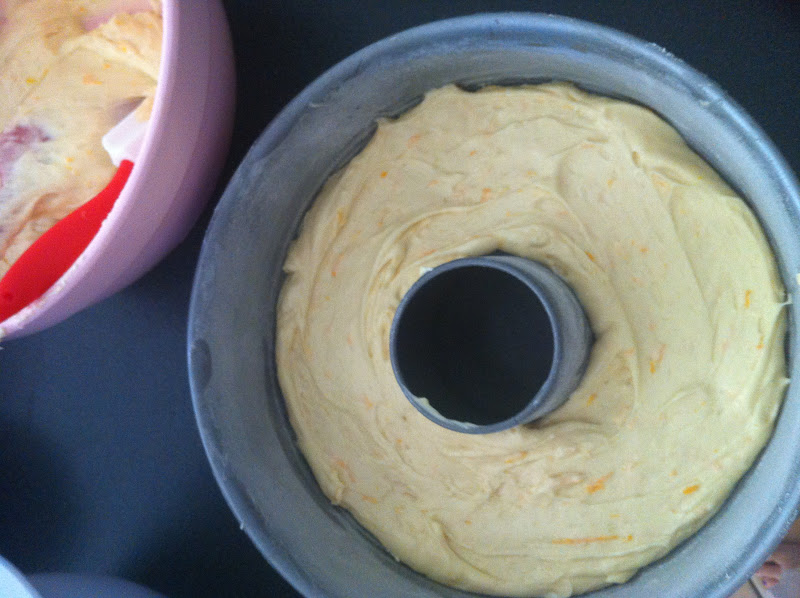
Add the white chocolate mixture and orange zest to the remaining batter. Blend it in so it's just combined.


Spread half the white chocolate batter into the bottom of the bundt tin to form an even layer.


Dollop half the dark chocolate batter on top and spread it out as evenly as you can.


Repeat this layering with the remaining batters. Run  a narrow knife blade right through the batter, moving it around the central tube in a petal or figure-of-eight pattern as you go (this swirls the two mixtures together, be careful not to get too carried away or they will just blend together).


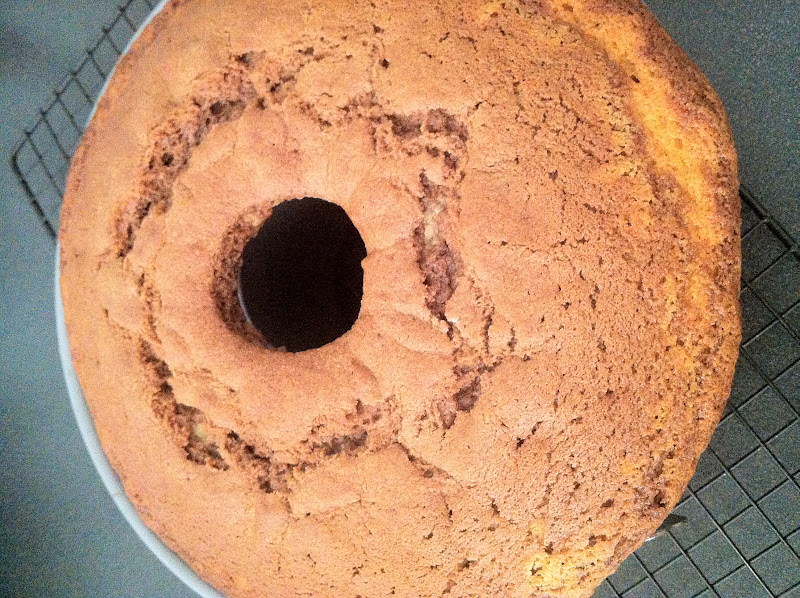
Bake for  about 55 minutes or until a fine skewer inserted in the middle of the cake comes out clean. Cool the cake in the tin on a wire rack for 10 minutes. Carefully loosen the edges of the cake and invert it onto the rack. Leave it to cool completely.


This cake has a Chocolate ganache over it but you could put any form of chocolate icing even a white chocolate icing. I will give you the recipe that I used from Belinda's book.

Ganache (shiny chocolate icing) - I used half of what is listed below
250g good quality dark chocolate, cut into small chunks
125g unsalted butter, cut into chunks

Put the chocolate, butter into a medium-sized, heavy-based saucepan over low heat. Let the chocolate and butter melt, stirring the mixture frequently, until ganache is smooth. The most important thing to keep in mind when making your ganache is not to let the mixture get too hot. Once it's silky smooth , take it off the heat. let it cool until it's barely warm and of a thick pouring consistency before using it.


YUM! M x